My friend Karen was throwing her sister a baby shower and asked if I would help her with her dessert table. She wanted me to bake a baby carriage cake and some mini cupcakes. The color scheme was green apple and chocolate brown. Love that combo - would taste great too! They were also trying to incorporate baby blocks into the design.
Since part of the theme was baby blocks, instead of regular round mini cupcakes, I decided to do mini square cakes to make them look more like blocks. I ended up doing 72 blocks - 36 with green letters and numbers and the other half with brown. When I was planning this project, I really didn't think it was going to take me all that long to do. Boy was I wrong!!!
To make things go quicker (so I thought), I ended up buying a mini brownie pan from Wilton. Normally, I LOVE Wilton products, but in this case I have to say, it was no time saver. In fact, it was a complete time WASTER!! Even though I measured the batter with an ice cream scoop so they'd be the same size, it didn't happen. I ended up having to trim each and every one of these little guys!!
Next time (if there even is a next time) I'm going for the regular sheet cake with my ruler and knife.
So here goes...
The night before I baked, I colored the fondant green and brown. I tried to buy chocolate fondant at NY Cake & Bake but they didn't have any. Of course not. That would have been way too convenient.
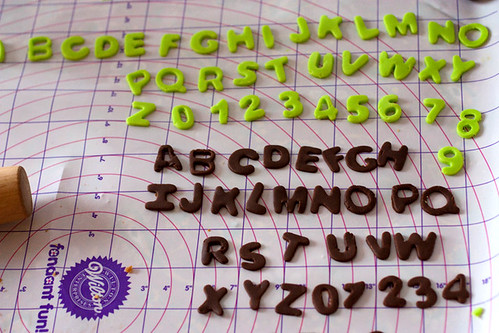
After I colored the fondant, I cut out the letters and numbers using small fondant cutters.
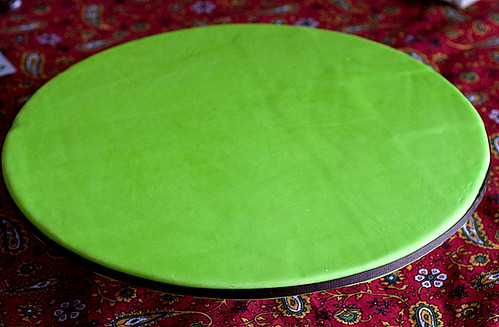
I thought this was going to be easy but each one stuck to the cutter so I had to poke each one out. Did I mention it was 2am at this point?? That night I also covered my cake board with fondant,
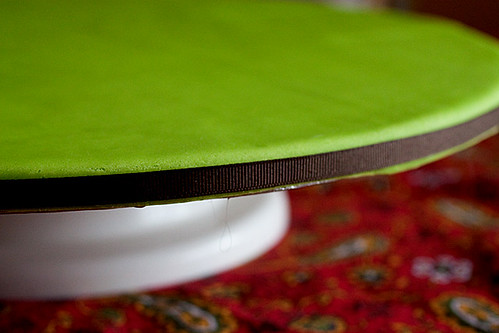
and trimmed the edges with brown ribbon.
The next morning I started baking. I swear, I think I went through at least 16 bars of butter! Between the cake batter, filling, icing, and glaze I almost passed out from the butter/sugar scent that was wafting through my kitchen.
Once I trimmed (errrr!!!) all of the blocks, I put them on a rack,
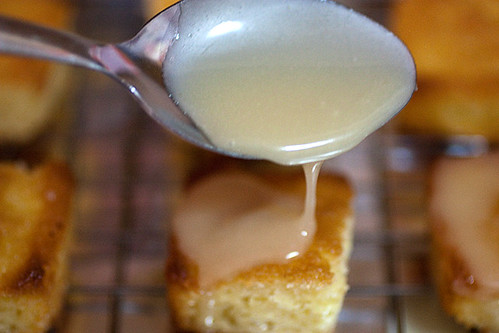
made a glaze (deadly), and glazed away!
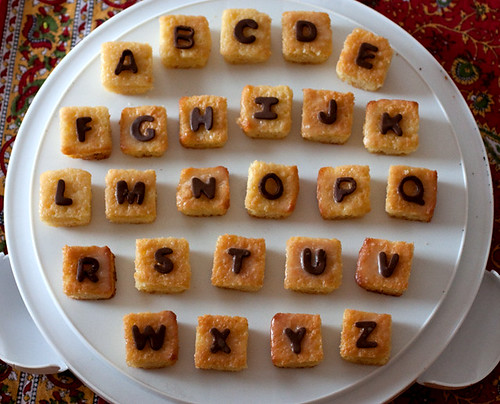
While they were still wet, I put a fondant letter on each block so when they dried, the letters would stick.
The glaze made it like a glazed doughnut. Oh yeah!!!
Wouldn't these make cute scrabble pieces?? Just need the little numbers in the corners.
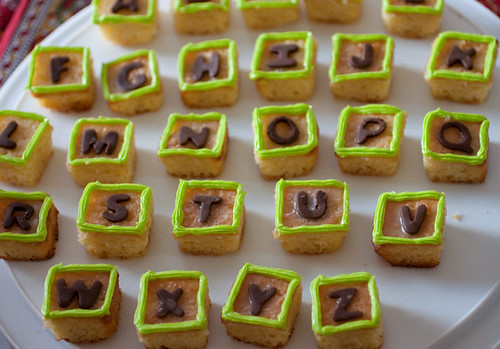
After the glaze hardened up a bit, I piped a border around each mini cake to simulate a block. I decided to mix the colors - brown trim with green letters
and green trim with brown letters.
DONE!!
Next it was time to tackle the baby carriage cake. For this I used Wilton's baby carriage pan so I wouldn't have to start sculpting myself. Yep, took a bit of a shortcut on this one. But hey, after those blocks I think I deserved it!
First I filled the cake with a pineapple buttercream I made earlier. Then I had to tint the other buttercream to match the fondant on the cake board. Then the piping began. I piped and piped and piped. This took a while because the buttercream was getting really soft from the heat of my hand. So periodically I had to stop and put it back in the fridge to stiffen up a bit. You can definitely tell where the icing wasn't holding it's shape anymore. Slipping here, sliding there. I was worried I was going to run out of icing and didn't have enough confectioners sugar to make another batch even if I wanted to make more (and I didn't). I really had to s-t-r-e-t-c-h it out.
I made it - just barely!!
Time to put it on the board.
Woo Hoo!! I was done!! It only took me all day, but I was done!!
Or so I thought.
"Hey, it's Karen, I'm coming over - centerpieces and party favors!!"
Whaaaa?!?!?!?!?!?
To be continued...
Wednesday, February 24, 2010
Subscribe to:
Post Comments (Atom)










1 comment:
And what a great job you did Stacey. Everyone loved it. When I took it out at the shower I got so many oooo and ahhhhhhhh. Plus a few OMG's. Best of all, it tasted just as good as it looked.
Thanks again Total City Girl.
-i-
www.kdisaacs.com
Post a Comment